一、环境说明
- 系统:win10
- 环境:python3.7
- 框架:opencv
二、函数说明
2.1 cv2.findContours
功能:找轮廓
- mode
- cv2.RETR_EXTERNAL:只检测最外层轮廓
- cv2.RETR_LIST:检测所有轮廓保存到列表
- cv2.RETR_CCOMP:检测所有轮廓,并将他们组成双层轮廓
- cv2.RETR_TREE:检索所有轮廓并重新建立网状轮廓结构
- mathod
- cv2.CHAIN_APPROX_NONE:输出轮廓的所有点
- cv2.CHAIN_APPROX_SIMPLE:压缩后的点,只要是直线,都会被省略
(完全没有opencv书上写的细,在书上362页)
2.2 cv2.drawContours
功能:画轮廓
- image:画板,必须要三维
- contours:对应轮廓
- contourIdx:轮廓Id,如果为-1,则绘制所有轮廓
- color:像素值,例如(0,0,255)
- thickness:线条粗细,如果为-1,则对内部进行填充
三、测试样例
3.1 绘制最外层轮廓
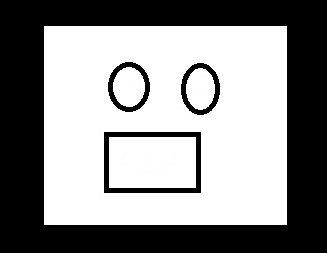
- 第一种情况(如果背景是白色,则图片边缘为最外层边框)
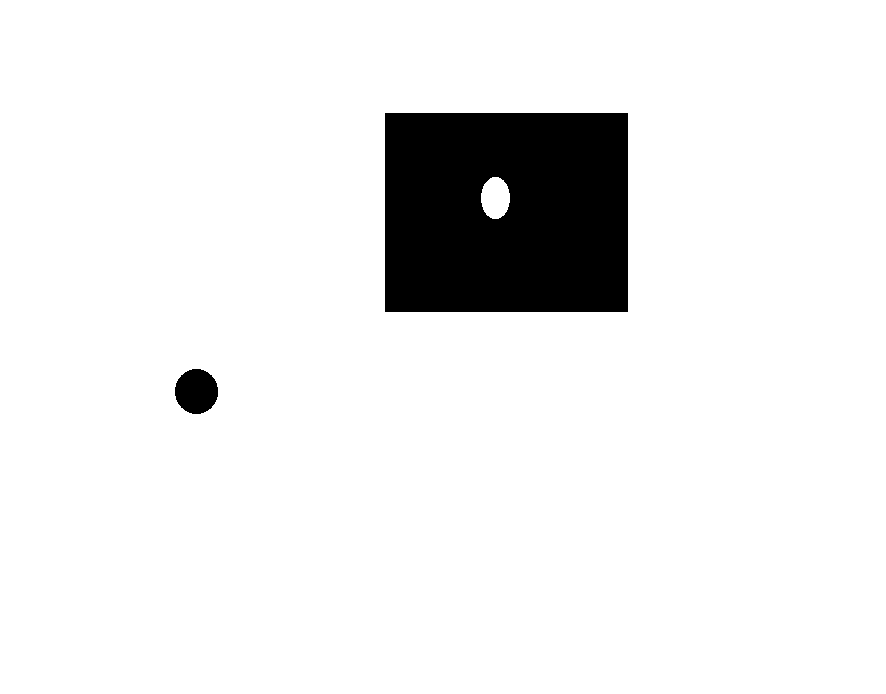
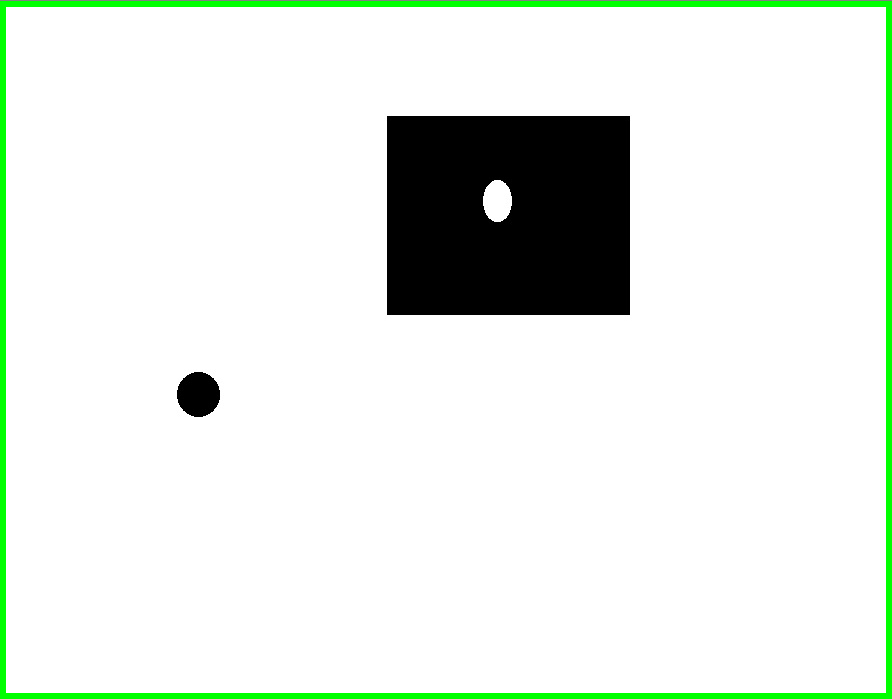
- 第二种情况(如果背景是黑色,则内部第一个不为黑色的区域为边框)
- 代码
1 | import cv2 |
注:当thickness==-1的时候,则填充内部,如下:
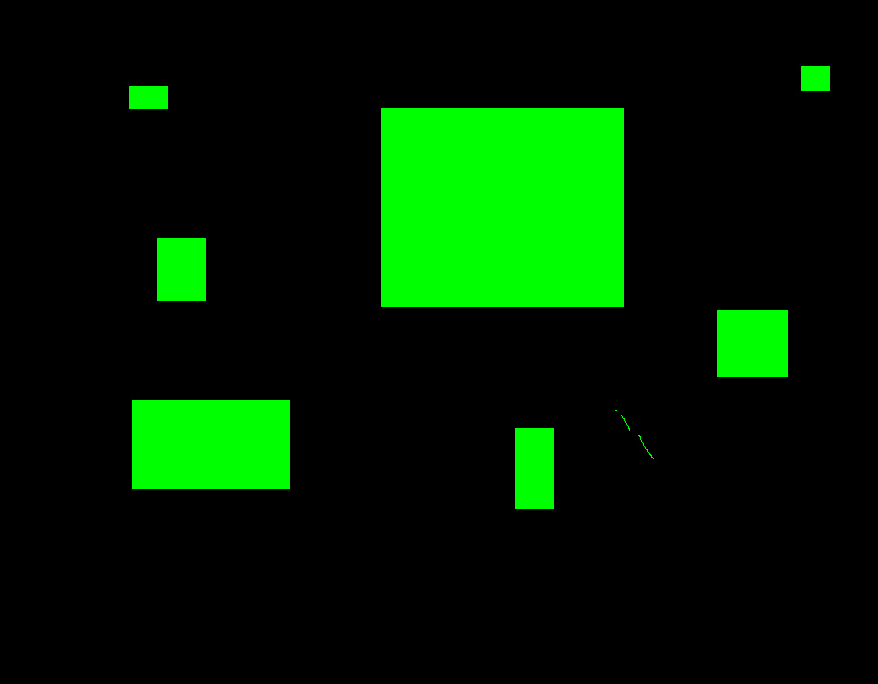
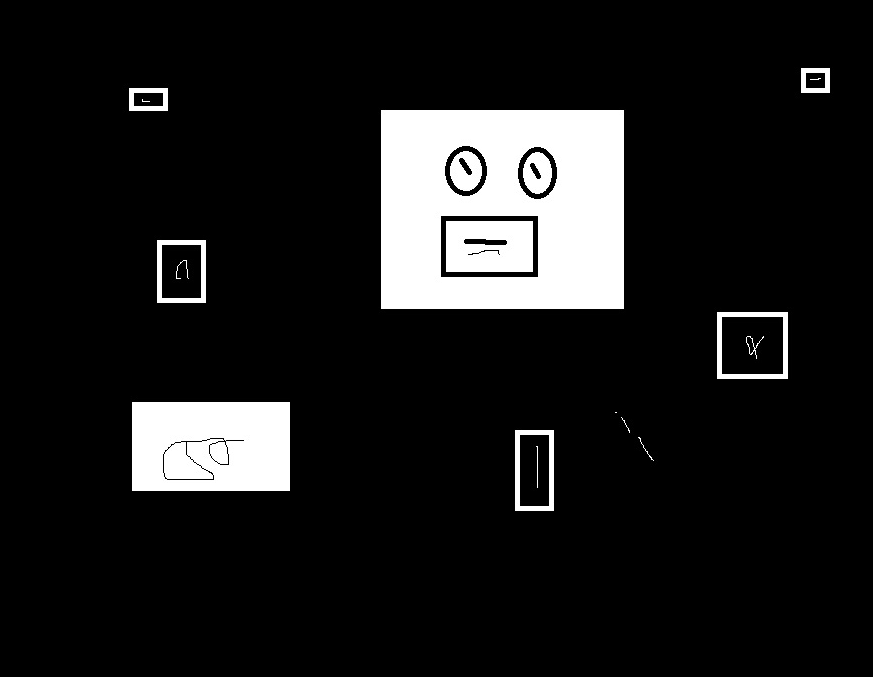
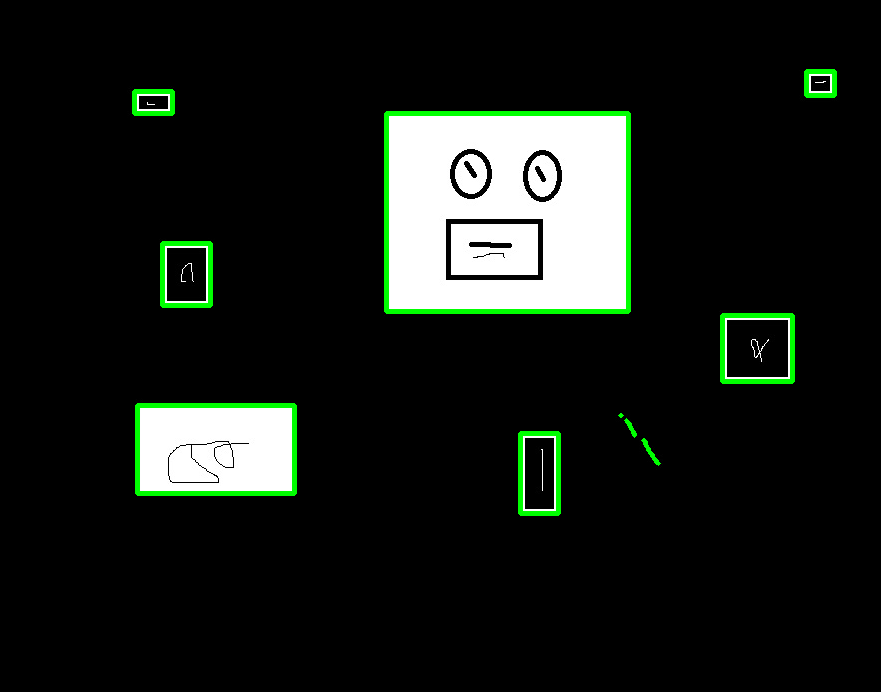
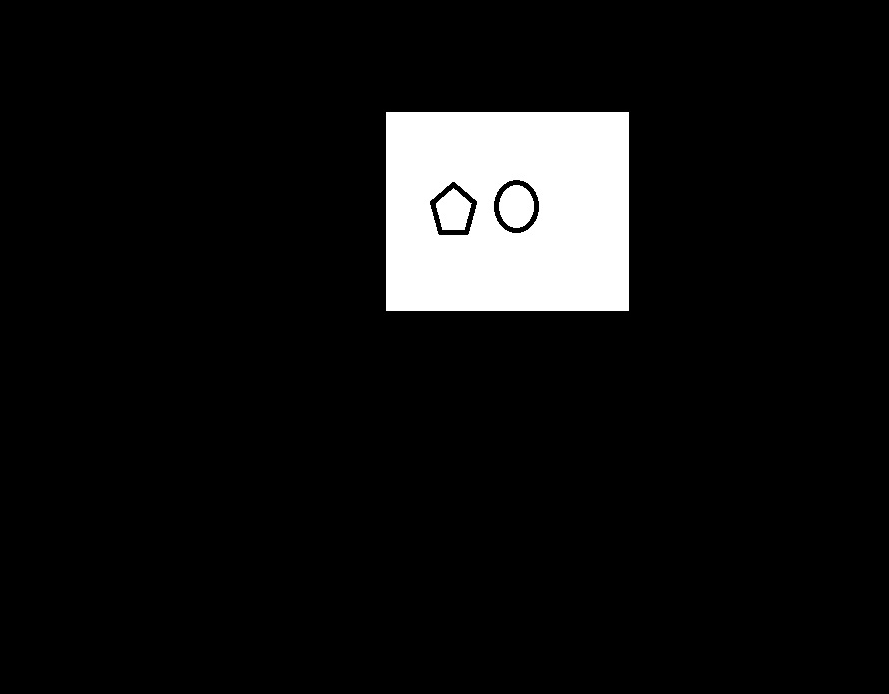
3.2 移除小矩形
目标:当需要保留图片主体部分时,需要去掉相片中的干扰
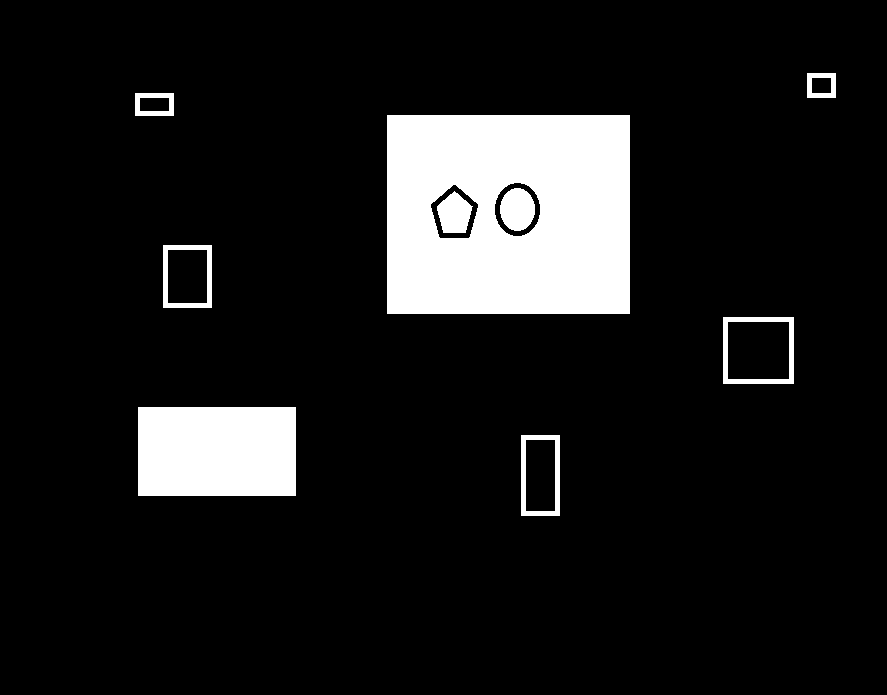
输出
代码
1 | def removeSmallArea(image): |
3.3 移除最内侧轮廓
原图:
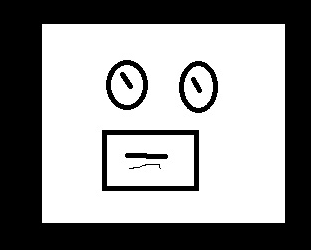
移除后:
代码说明:
先使用深度优先遍历找到对应深度的轮廓,再使用2.2的函数进行轮廓填充,代码如下:
1 | # -*- coding: utf-8 -*- |